
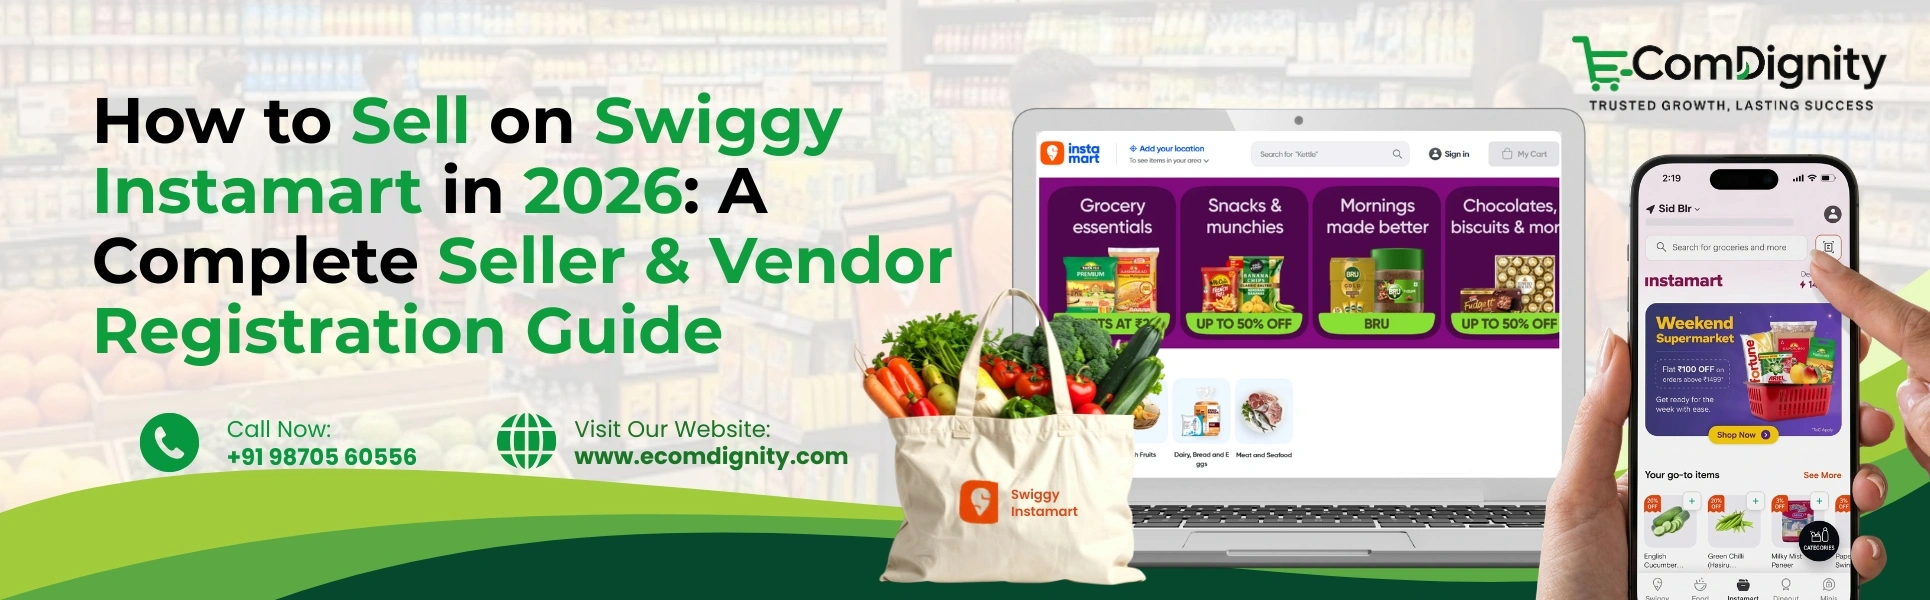
How to Sell on Swiggy Instamart in 2026: A Complete Seller & Vendor Registration Guide
-
Quick commerce is no longer the future. It is the present. Indian shoppers now expect their groceries and daily essentials delivered in under 30 minutes. And Swiggy Instamart is leading this change.
If you are a brand, distributor, or retailer looking to tap into this demand, selling on Swiggy Instamart is one of the smartest moves you can make in 2026. But getting started requires more than just showing up. You need to understand the registration process, meet the right requirements, and prepare the right documents.
This guide covers everything — from what Swiggy Instamart is, to why you should sell on it, to exactly how to complete your Instamart vendor registration step by step.
Key Takeaways
- Swiggy Instamart is a quick commerce platform that delivers groceries and essentials in 15–30 minutes through dark stores across 30+ Indian cities.
- Selling on Instamart is a curated, invite-and-apply process — not a self-serve marketplace. A Category Manager guides you through onboarding.
- You need a valid GSTIN, FSSAI license (for food products), PAN, and bank details to complete Instamart vendor registration.
- There is no upfront registration fee. Swiggy charges a commission of 15%–25% depending on product category.
- Approval typically takes 10–21 working days if all documents are in order.
What is Swiggy Instamart?
Swiggy Instamart is Swiggy’s quick commerce platform. It delivers groceries, snacks, beverages, personal care products, and daily essentials to customers in 15–30 minutes.
Unlike traditional e-commerce, Instamart does not rely on sellers shipping from their own warehouses. Instead, it operates through dark stores — small, strategically located fulfilment centres stocked with fast-moving products. As a seller, you supply inventory to these dark stores. Swiggy’s delivery network handles the rest.
Instamart is currently live in 30+ Indian cities and processes millions of orders every week. It holds a 23–25% share of India’s quick commerce market, making it one of the most powerful platforms for brands and retailers to sell on.
You can sell a wide range of products on Instamart — from fresh groceries and packaged foods to cleaning supplies and baby care products. If you are wondering how to sell grocery on Swiggy Instamart specifically, the same registration and onboarding process applies.
Why Sell on Swiggy Instamart in 2026?
Before we get into the registration steps, let us understand why selling on Instamart makes strong business sense in 2026.
Access to High-Intent Buyers
Customers who use Instamart are buying out of urgency. They are not window shopping. This makes them more likely to convert. You reach buyers who are ready to purchase right now.
Swiggy Handles Logistics
Once your inventory reaches Swiggy’s dark stores, they take over. Picking, packing, and last-mile delivery — all of it is managed by Swiggy’s team. You do not need to build a delivery infrastructure.
Built-in Advertising Tools
Instamart offers an integrated advertising platform. You can run search ads, category placements, and homepage banners to boost your product visibility. This helps you grow faster once you are live.
Data-Driven Inventory Management
Swiggy uses real-time demand forecasting to generate purchase orders. This means faster inventory rotation and less stock aging, a major advantage in quick commerce.
Expand Across Cities
Once you perform well in one city, Instamart supports expansion into new geographies. Growth is performance-driven, so strong sellers get rewarded with a wider reach.
Swiggy Instamart Vendor Registration Requirements
Before you apply, make sure your business meets the basic eligibility criteria. Here is what Instamart typically looks for:
- A registered business entity — proprietorship, partnership, LLP, or private limited company
- A valid GSTIN (GST registration number)
- An FSSAI license or registration if you are selling food or beverages
- Operational capability to supply inventory consistently and manage real-time stock updates
- Products that fit Instamart’s category demand in the cities you want to sell in
Instamart works with a variety of seller types,, including FMCG brands, D2C brands, distributors, grocery stores, supermarkets, and manufacturers. Small businesses can also register, but consistent supply and category fit are important factors in approval.
Mandatory Documents for Instamart Vendor Registration
Having your documents ready before you apply is critical. Missing or incorrect documents are the most common reason for delays.
Here is the complete document checklist:
Document | Details |
GSTIN Certificate | Mandatory for all taxable goods |
FSSAI License / Registration | Compulsory for food, beverages, and dietary supplements |
PAN Card | Business PAN or Proprietor’s PAN |
Bank Account Details | Cancelled cheque or bank statement (current account preferred) |
Shop & Establishment License | Or any valid business proof |
Brand Authorization Letter | Required if you are a distributor registering on behalf of a brand |
Drug License | Required for OTC pharmaceuticals and health products |
BIS Certification | Required for products under the Bureau of Indian Standards compulsory scheme |
Trademark Certificate | Optional but recommended for brand protection |
Pro tip: Make sure your FSSAI license is valid for at least 6–12 months beyond your application date. Also check that the name on your GST certificate matches your bank account details. Mismatches cause delays.
How to Register on Swiggy Instamart: Step-by-Step
Now let us get into the actual process of how to register on Swiggy and complete your Instamart vendor registration.
Step 1: Visit the Partner Portal
Go to swiggy.com/instamart-partner or search for “Swiggy Instamart partner registration.” Click on “Become a Seller” or “Partner with Swiggy.”
Step 2: Fill in the Registration Form
You will be asked to provide:
- Company name and brand details
- Contact information
- GSTIN and PAN
- Annual and monthly turnover
- Top SKUs you plan to sell with estimated sales volumes
- Target cities
Fill in all details accurately. Incomplete forms slow down the review process.
Step 3: Upload Your Documents
Upload all the mandatory documents listed in the section above. Make sure every document is clear, valid, and correctly named. This is where most sellers lose time if they are unprepared.
Step 4: Application Review
Swiggy’s team reviews your application. They check compliance, category eligibility, and document accuracy. This step usually takes 7–21 working days, depending on the category and city demand.
Step 5: Category Manager Assignment
Once your basic credentials are verified, a Category Manager (CM) is assigned to your account. The CM becomes your primary point of contact at Swiggy. They guide you through:
- Margin discussions
- Pricing structure
- Return to Vendor (RTV) terms
- Commercial agreement finalization
Step 6: New Product Introduction (NPI)
After commercial terms are agreed upon, you enter the NPI stage. Here you submit your full product catalogue:
- SKU names and descriptions
- MRP and pack size
- Barcodes
- High-quality product images (front, back, and picker view)
- HSN codes
This step is critical. A poorly structured catalogue leads to listing rejections or poor search visibility even after you go live.
Step 7: Inventory Dispatch to Dark Stores
Once your catalogue is approved, dispatch your inventory to Swiggy’s fulfilment centres. From this point, Swiggy manages storage, packing, and delivery. Your job is to keep the inventory replenished and maintain quality.
Step 8: Go Live and Start Selling
After your products are verified and stocked at the dark store, they go live on the app. You can now monitor performance through the seller dashboard and run ads to boost visibility.
Swiggy Instamart Commission and Fees
There is no upfront registration fee to become a Swiggy Instamart vendor. However, Swiggy earns through commissions on every order.
Commission rates typically range from 15% to 25%, depending on your product category and negotiated terms. There may also be additional charges for:
- Inwarding fees
- Storage and ageing fees
- Fulfillment charges
- Advertising and promotional spends
Always discuss the full commercial structure with your Category Manager before signing the agreement.
Tips to Succeed After Registration
Getting approved is just the beginning — what follows is the ongoing e-commerce account management that keeps your stock, listings, and performance healthy. Here is how to grow on Instamart once you are live:
- Maintain buffer stock. Stock-outs hurt your performance score and ranking. Always keep a healthy inventory buffer.
- Use SEO in your product titles. Add relevant keywords in product names and descriptions to improve discoverability in search.
- List in the right categories. Wrong categorization means your products do not reach the right buyers. Check and update regularly.
- Start with a small ad budget. Test ads before scaling spend. Measure CTR and conversions before increasing investment.
- Keep barcodes accurate. Barcode errors cause compliance issues and listing rejections. Double-check before submission.
Price competitively. Maintain MRP parity across platforms. Instamart monitors pricing consistency.
Conclusion
Selling on Swiggy Instamart in 2026 is a high-potential opportunity. The platform gives you access to millions of high-intent buyers across 30+ Indian cities, built-in logistics, and powerful advertising tools. But it demands discipline — in documentation, inventory management, and catalogue quality.
Start with the right documents. Apply through the official partner portal. Work closely with your Category Manager. And once you are live, treat operations as seriously as sales.
Quick commerce rewards sellers who are prepared and consistent. Instamart is ready for you. Are you ready for Instamart?
Join Hands With Ecom Dignity to Sell on Swiggy Instamart
Ecom Dignity is your trusted partner for quick commerce and marketplace growth. Whether you are registering on Swiggy Instamart for the first time or scaling across multiple platforms, our team handles the entire process — from documentation and catalogue setup to account management and advertising.
We specialise in helping FMCG brands, D2C startups, and retail businesses succeed on India’s top quick commerce platforms. We cut through the complexity so you can focus on what matters: growing your business. Ecom Dignity’s Swiggy Instamart account management services handle registration, documentation, catalogue setup, and ongoing performance — so you can focus on supply. Contact us for a free strategy call.
Frequently Asked Questions
Find answers to common questions about Swiggy Instamart seller registration and vendor onboarding.
Visit swiggy.com/instamart-partner, fill in the registration form with your business and product details, upload the required documents, and submit. A Category Manager will be assigned after the initial review.
Yes. A valid GSTIN is mandatory for most product categories on Swiggy Instamart.
Approval typically takes 10–21 working days if all your documents are accurate and complete.
The process is the same as general vendor registration. You will additionally need a valid FSSAI license or registration since food products require it. Submit your grocery SKUs during the NPI stage after your Category Manager is assigned.
No, there is no upfront registration fee. Swiggy earns through commissions ranging from 15%–25% per order depending on the category.

Siddharth Dwivedi is an eCommerce consultant and entrepreneur specialising in marketplace growth, online business strategy, and digital commerce operations. With hands-on experience in Amazon, Flipkart, and Shopify ecosystems, he works closely with brands and sellers to improve visibility, optimise listings, and scale profitable online operations. Through his blogs, Siddharth shares practical insights, strategies, and real-world learnings to help businesses grow sustainably in the evolving e-commerce landscape.