

How to Create an Amazon Seller Central Account
You have a product. You know there is demand. But Amazon feels complicated — too many steps, too many decisions, and too much jargon.
But the truth is that setting up an Amazon Seller Central account is not as hard as it looks. Millions of business owners, from small home-based sellers to large brands, have done it. You can too.
In this guide, you will learn exactly what to prepare, which selling plan to pick, and how to complete your Amazon seller registration, step by step. By the end, you will know everything you need to get your store live.
Key Takeaways
1. Amazon Seller Central is the platform where you manage your entire Amazon business — listings, orders, inventory, and payments.
2. You must choose between two selling plans: Individual ($0.99 per item sold) and Professional ($39.99/month). Most serious sellers go with Professional.
3. Before you start, collect your documents, including government ID, bank account details, tax information, and a credit card.
4. The registration process has 11 steps and usually takes a few hours. Identity verification takes up to 3 business days.
5. After your account goes live, your first priorities are setting up your store, listing products, and choosing a fulfilment method (FBA or FBM).
Error: Contact form not found.
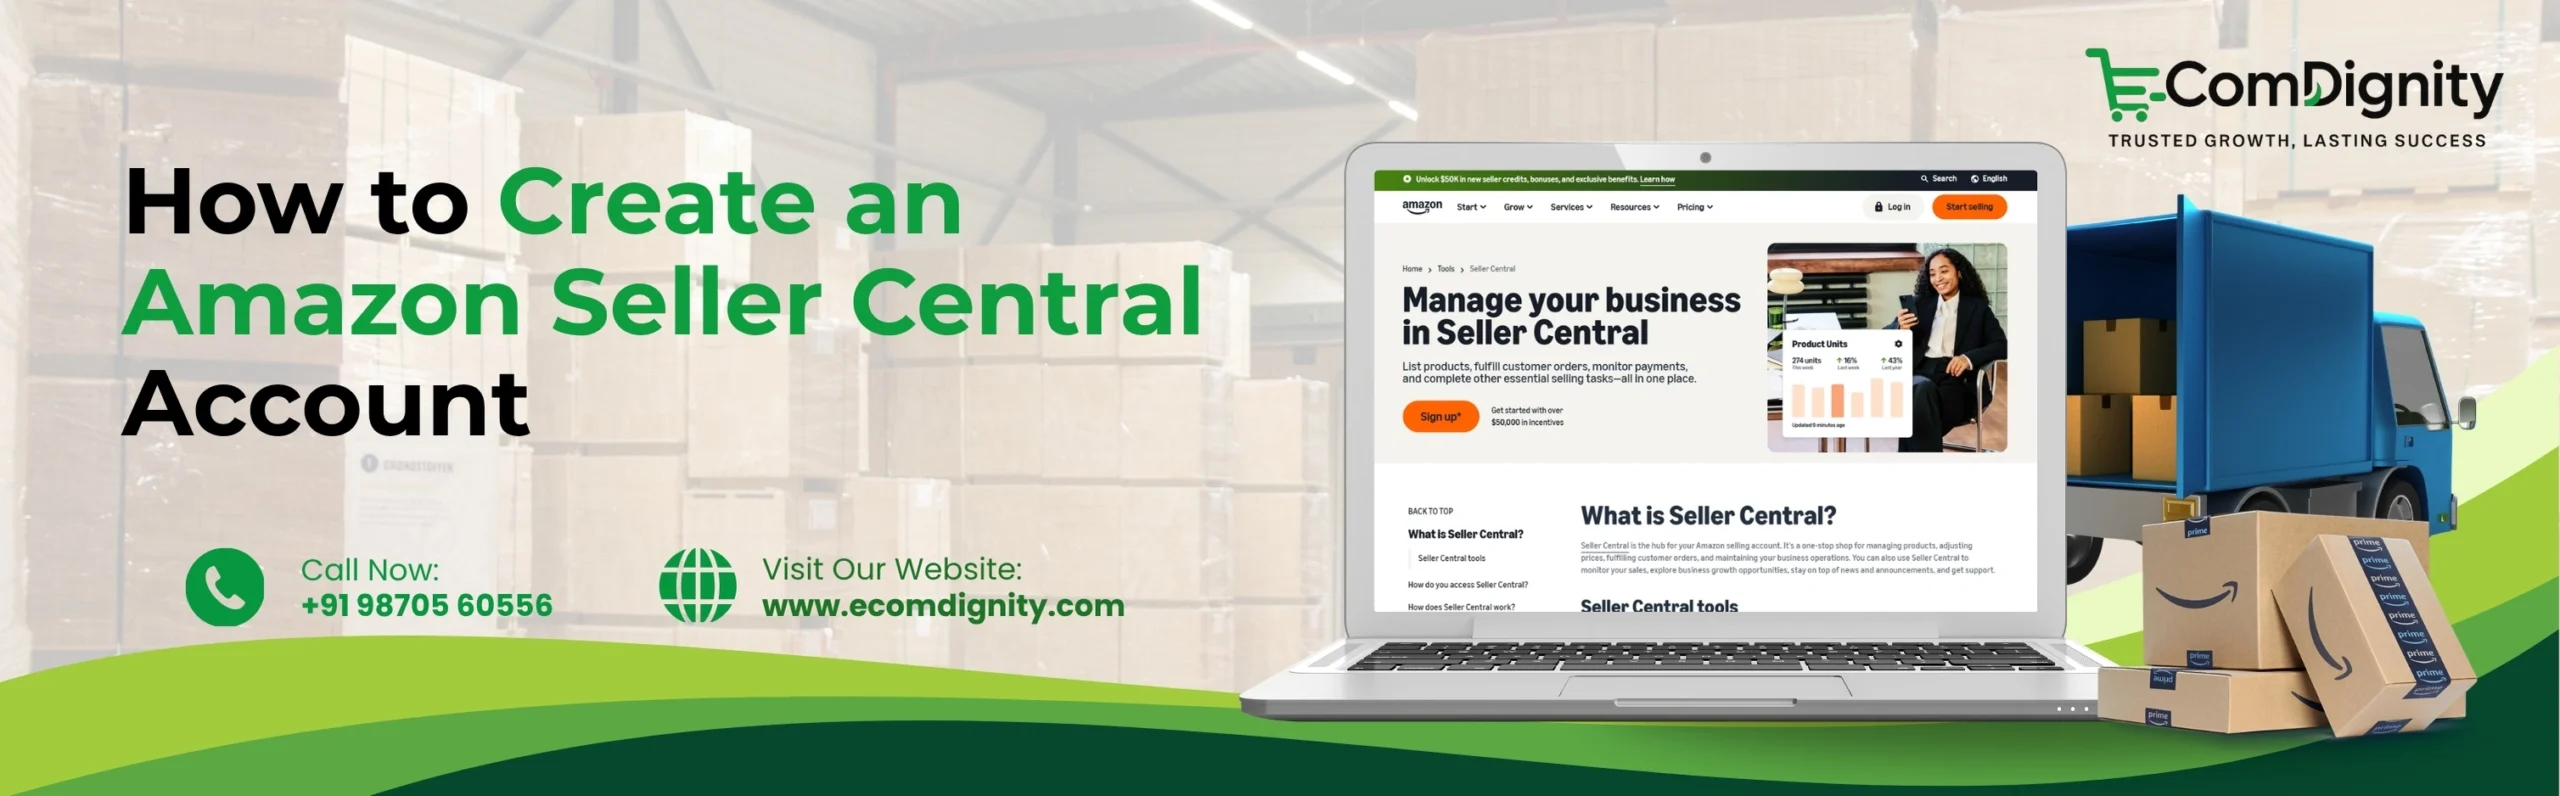
What Is Amazon Seller Central?
Amazon Seller Central is your command centre for selling on Amazon. Once you create your account, this is where you will:
1. List and price your products
2. Track your inventory
3. Manage customer orders
4. Monitor your sales performance
5. Handle returns and customer messages
Every seller on Amazon must have a Seller Central account. There is no way to sell on Amazon without one. It is your first and most important step.
Individual Plan vs. Professional Plan: Which One Should You Choose?
Before you register, you need to decide on a selling plan. Amazon offers two options.
Individual Plan
1. No monthly subscription fee
2. $0.99 charged per item you sell
3. No access to bulk listing tools or advertising
4. Best for sellers who plan to sell fewer than 40 items a month
This plan works if you are testing the waters or selling occasionally.
Professional Plan
1. $39.99 flat fee per month — no per-item charges
2. Access to bulk listing, advertising (PPC), and detailed reports
3. Ability to sell in restricted categories
4. Best for sellers planning to sell more than 40 items a month
Here is a simple way to think about it: if you sell more than 40 items a month, the Professional plan is cheaper. For example, selling 50 items on the Individual plan costs $49.50 — but the Professional plan is a flat $39.99.
If you are a business owner serious about selling on Amazon, start with the Professional plan. You get more tools, more access, and better value as your volume grows. The good news? You can switch between plans at any time — no extra fees.
What You Need Before You Start: Documents and Information Checklist
One of the most common reasons for account delays is missing documents. Have these ready before you begin your Amazon seller registration:
Business Information
1. Business name and address
2. Business type (sole proprietor, private limited company, etc.)
3. Business registration number (if applicable)
Personal (Contact Person) Information
1. Government-issued photo ID (passport or national ID card)
2. Your full name, date of birth, and residential address — must match your ID exactly
3. Phone number for verification
Payment and Banking Details
1. Bank account details (for receiving payments from Amazon — must be in your name or your business name)
2. Credit or debit card (for paying subscription or per-item fees)
Tax Information
1. For US sellers: Social Security Number (SSN) or Employer Identification Number (EIN)
2. For international sellers: local tax identification number
3. You will need to complete a tax interview inside Seller Central after approval
Pro tip: Have digital copies of your documents open on your screen. This saves time during registration and reduces errors.
How to Create Your Amazon Seller Central Account: Step-by-Step
The process typically takes a few hours if you have all your documents ready. Here is how it works:
Step 1: Create Your Amazon Account
Enter your name, email address, and a strong password. Click Next. If you already have an Amazon customer account and want to keep them separate, use a different email. However, if you have accounts with Amazon Brand Registry, Amazon Ads, or Vendor Central, use the same email to sync access.
Step 2: Verify Your Email
Amazon will send a verification code to the email you used. Go to your inbox, copy the code, and enter it on the registration page. Click Verify.
Step 3: Enable Two-Step Verification
Amazon will send a second verification code — either by text or phone call. Enter the code. This adds a security layer to your account.
Step 4: Enter Your Business Location and Business Type
Select the country where your business is registered. Then choose your business type: Publicly listed company, Privately owned company, State-owned business, Charity, or Individual/sole trader. Most small and medium business owners fall under Privately owned company or Individual/sole trader.
Step 5: Enter Your Business and Personal Details
Fill in your full legal name, business name, and business address. Make sure all details match your official documents exactly. Mismatches are a common cause of verification failures.
Step 6: Enter Your Primary Contact Details
Add your phone number and indicate your role — whether you are the beneficial owner of the business, the legal representative, or both. A beneficial owner is someone who directly or indirectly owns more than 25% of the shares or voting rights of the business
Step 7: Add Your Payment Information
Enter your bank account details (for receiving Amazon payments) and your credit card information (for paying Amazon fees). Make sure the bank account is in your name or your business’s name.
Step 8: Set Up Your Amazon Store Name
Choose a name for your Amazon store. This is the seller name customers will see on your listings. Pick something clear and professional. It does not have to match your brand name exactly, but it should represent your business well.
Step 9: Add Your Product Information
Amazon will ask a few questions about your products — such as whether you have UPCs (barcodes), whether you are the manufacturer, and whether you have a trademark. Answer honestly. You can update this information later.
Step 10: Verify Your Identity
This is one of the most important steps. Amazon will ask you to upload a scanned copy or photo of your government-issued ID (passport or national ID). In many cases — especially for US accounts — Amazon now uses facial recognition or a video interview as part of its identity verification process. Make sure your document is clear, valid, and not expired.
Step 11: Wait for Amazon to Approve Your Account
After submitting everything, Amazon’s team will review your application. This usually takes up to 3 business days for straightforward applications. If Amazon needs additional information, they will reach out by email. Once approved, you are in.
Common Mistakes to Avoid During Amazon Seller Registration
Many first-time sellers run into the same problems. Here is what to watch out for:
1. Using mismatched information: Your name, address, and business details must be identical across all documents. Even a minor spelling difference can trigger a rejection.
2. Blurry or expired ID photos: Amazon requires clear, valid identity documents. Make sure your scan or photo is sharp and the expiry date is not past.
3. Using a bank account not in your name: Amazon only accepts bank accounts in your name or your registered business name.
4. Choosing the wrong selling plan: Think about your volume before you pick. If you plan to scale, start with Professional.
5. Submitting screenshots as bank statements: Amazon often rejects heavily edited or partial statements. Use official, full bank statements.
Need Help Managing Your Amazon Account? Consider Ecom Dignity!
Creating your account is just the beginning. Once you are live, running a successful Amazon store takes consistent effort — optimising listings, managing inventory, running ads, monitoring account health, and handling customer queries.
For many business owners, this is too much to manage alone, especially while running the rest of their business. That is where Amazon seller account management services come in. Ecom Dignity has emerged as a leading provider of Amazon seller account management services in Delhi. Our services typically cover:
1. Account registration and creation
2. Product listing creation and optimisation
3. Inventory and order management
4. Amazon PPC (pay-per-click) advertising
5. Account health monitoring and issue resolution
6. Brand registry and A+ content setup
Whether you are just setting up your store or looking to scale an existing one, Ecom Dignity helps business owners handle everything from listings and advertising to account health and brand growth.
Working with a local agency like Ecom Dignity gives you the advantage of communication in your time zone, a team familiar with Indian business regulations, and hands-on support whenever you need it.
Final Thoughts
Creating your Amazon Seller Central account is one of the most important steps you will take as a business owner entering e-commerce.
Yes, there are steps involved. Yes, there is documentation to gather. But when you break it down — as we have done here — it is a straightforward process. You can go from zero to a live Amazon store in a matter of days.
Here is a quick recap of what you need to do:
1. Decide on your selling plan (Individual or Professional)
2. Gather your documents before you start
3. Complete all 11 registration steps on Seller Central
4. Wait for identity verification (up to 3 business days)
5. Set up your store and list your first product
If you find the ongoing management too time-consuming, consider working with a professional like Ecom Dignity to keep your store running at its best. We offer the best Amazon account management services in India. Contact our team to start right away!
Frequently Asked Questions
Find answers to common questions about Ecom Dignity’s e-commerce account management services.
The registration itself usually takes a few hours. Identity verification typically completes within 3 business days, though it can take longer if documents are unclear or if additional checks are needed.
Yes. You can register as an individual seller or sole proprietor. You do not need a formal company to start. However, registering as a business gives you more credibility and can be important for tax purposes
There is no fee to create an account. However, you will be charged based on your selling plan — $0.99 per item on the Individual plan, or $39.99/month on the Professional plan..
Yes. You can switch between plans at any time from your Seller Central dashboard. There are no additional fees for switching.
FBA (Fulfilment by Amazon) means Amazon handles storage, packing, and shipping. FBM (Fulfilment by Merchant) means you handle fulfilment yourself. FBA is more hands-off; FBM gives you more control.
Siddharth Dwivedi is an eCommerce consultant and entrepreneur specialising in marketplace growth, online business strategy, and digital commerce operations. With hands-on experience in Amazon, Flipkart, and Shopify ecosystems, he works closely with brands and sellers to improve visibility, optimise listings, and scale profitable online operations. Through his blogs, Siddharth shares practical insights, strategies, and real-world learnings to help businesses grow sustainably in the evolving e-commerce landscape.